


In this series of articles, we’ve been exploring React Native, what is and why it is relevant for developing cross-platform native applications. If you missed our first part, please follow or entitled article “React Native Tutorial: An Authoritative Introduction – 1/2“.
The goal is to create a small but useful app that tracks important documents and their expiration dates. I hope you continue to join me on this journey to know a bit more about React Native.
In our last article, we reviewed what React Native is and we also scaffolded the application which we will be building throughout this series of articles.
In this article, we will explore how to set up an Android Virtual Device, the React Native CLI and also how to add the required React components that our application will use.
Installing an Android Virtual Device
To test the development with an emulator, we’ll be using mostly an Android Virtual Device (AVD), which is one of the best ways to test the functionality of the application we will be working on. This is particularly useful if you are developing on a Windows machine.
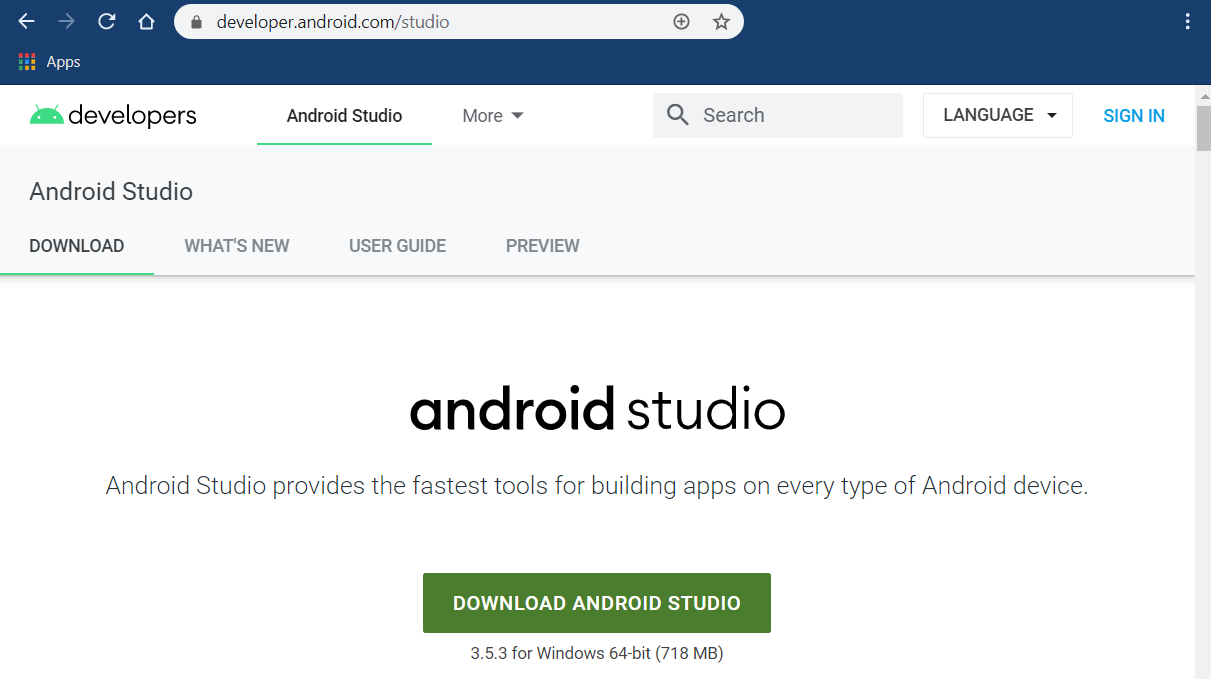
If you don’t have Android Studio, please feel free to download and install it from the official web page. The installation process should be straightforward to follow.
If you are following along using a Mac, you may also download and install Android Studio, for that platform.
If you would like to test your application on iOS, you’ll need to install XCode through the Mac AppStore—which we will not cover through this series of articles.
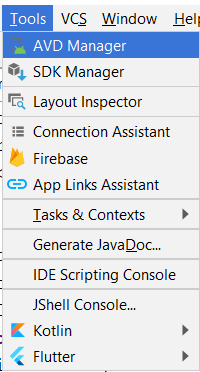
With Android Studio installed, we’ll need to create an Android Virtual Device. To do that, open Android Studio and go to the Tools menu and click on the AVD Manager option.
Then, the following window will be displayed. From here we can create a new Android Virtual Device.
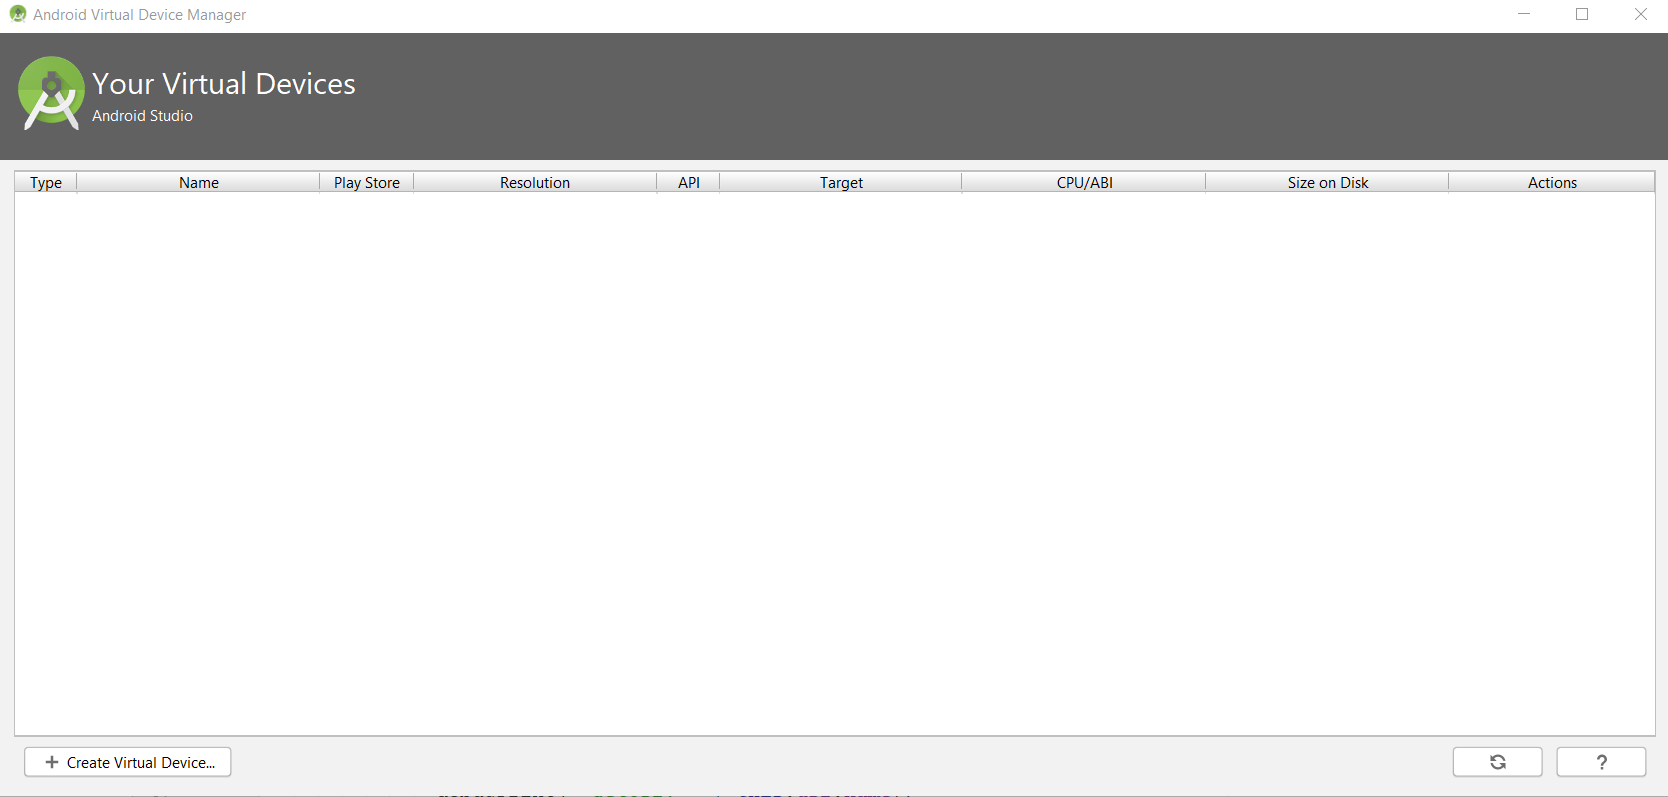
To create it, click on the Create Virtual Device button—this will display the following screen.
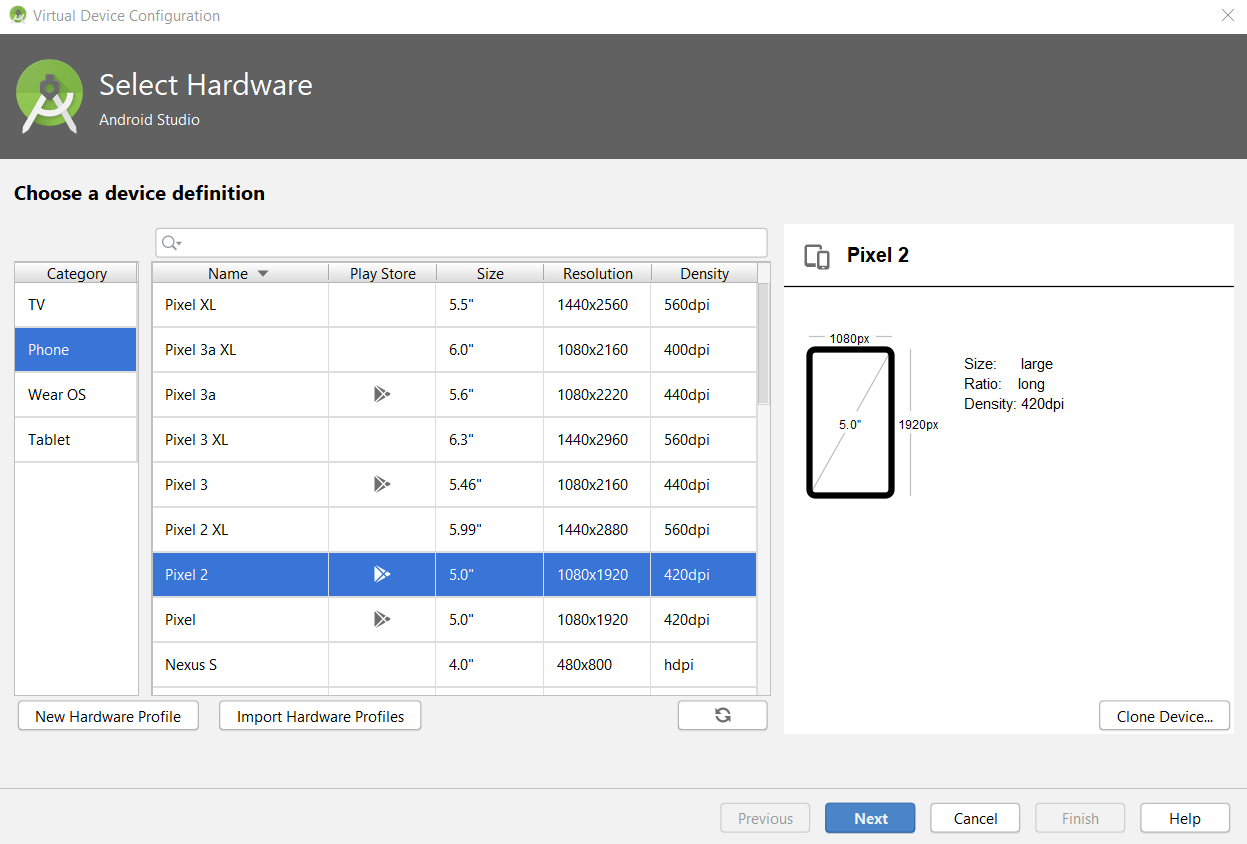
From this screen, you can select the category and model of the device we want to emulate. In my case, I’ll choose a Pixel 2 phone—which is the option that can be seen highlighted above.
You can choose any other model you wish but for simplicity and easiness of following along, I’d recommend selecting the same one. To continue the AVD setup process, click on the Next button.
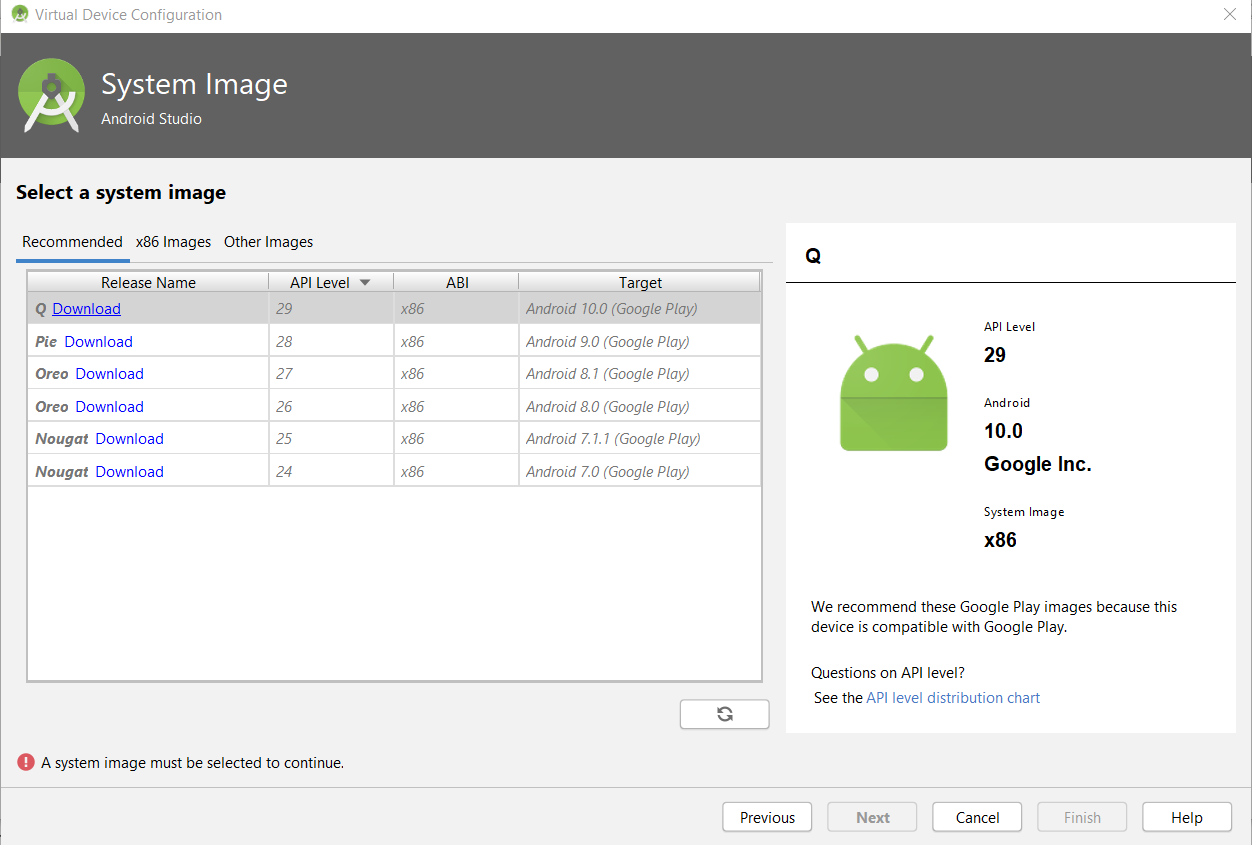
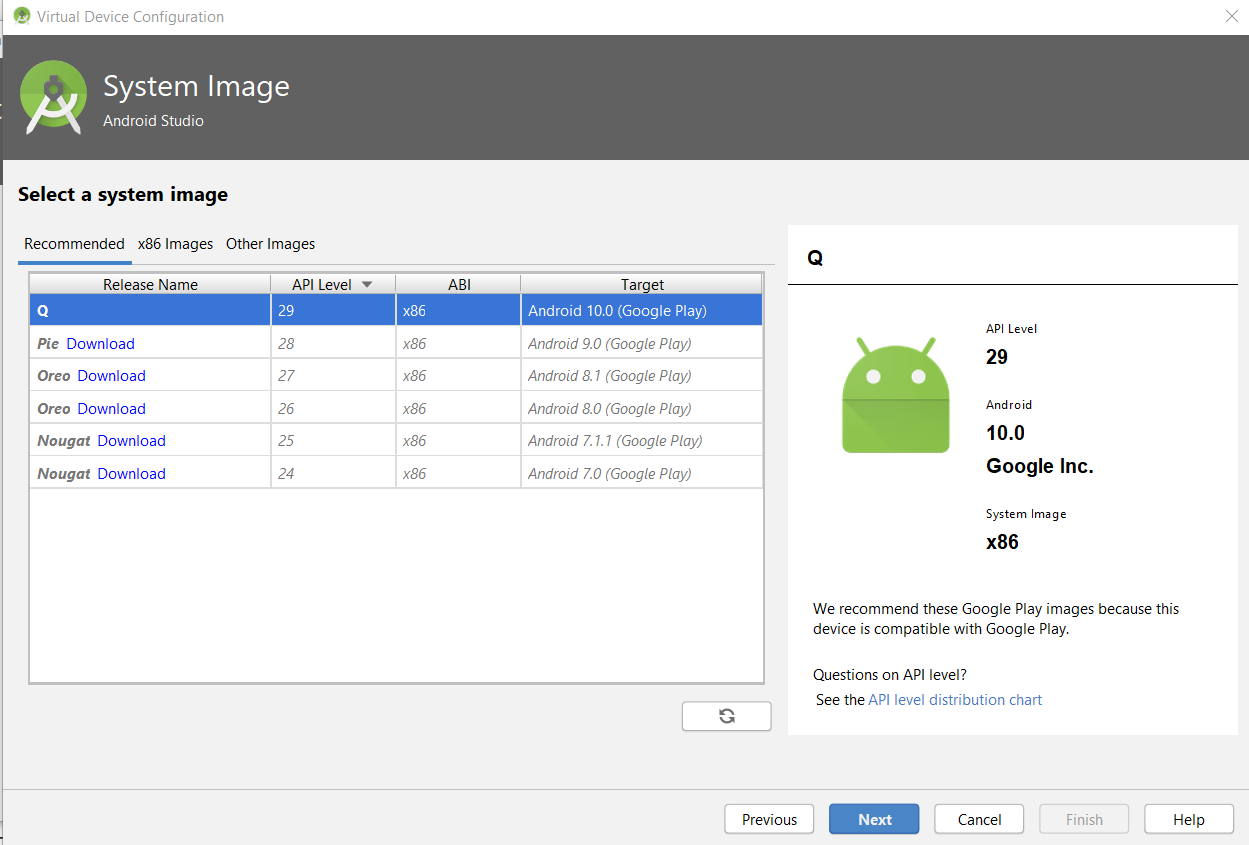
In this step, we need to choose a system image for the AVD. In this case, I’ll select the first option that is highlighted in gray labeled as Q. Click on the Download link next to its name to download it, if you don’t have it in your system yet—this will display the following screen.
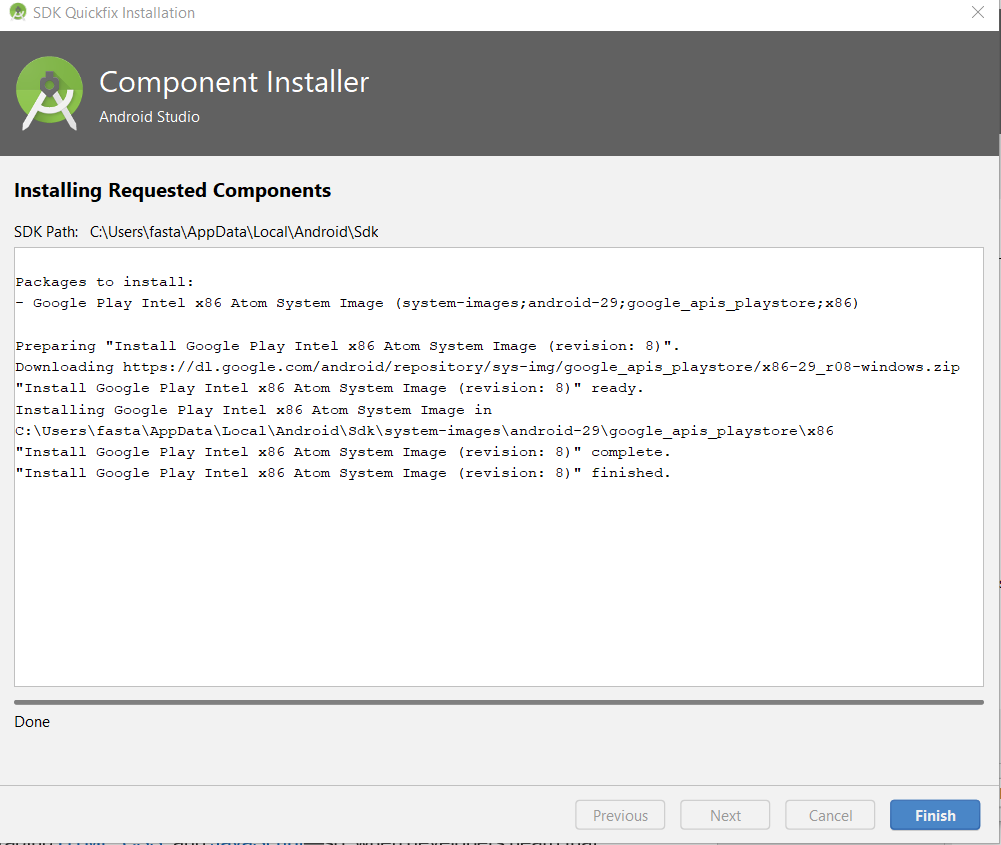
The download process might take a few minutes. Once the download has finalized, click on the Finish button—which will take you to the following screen.
Once the system image has been installed, we can continue the AVD installation process by clicking the Next button. We’ll then see the following screen.
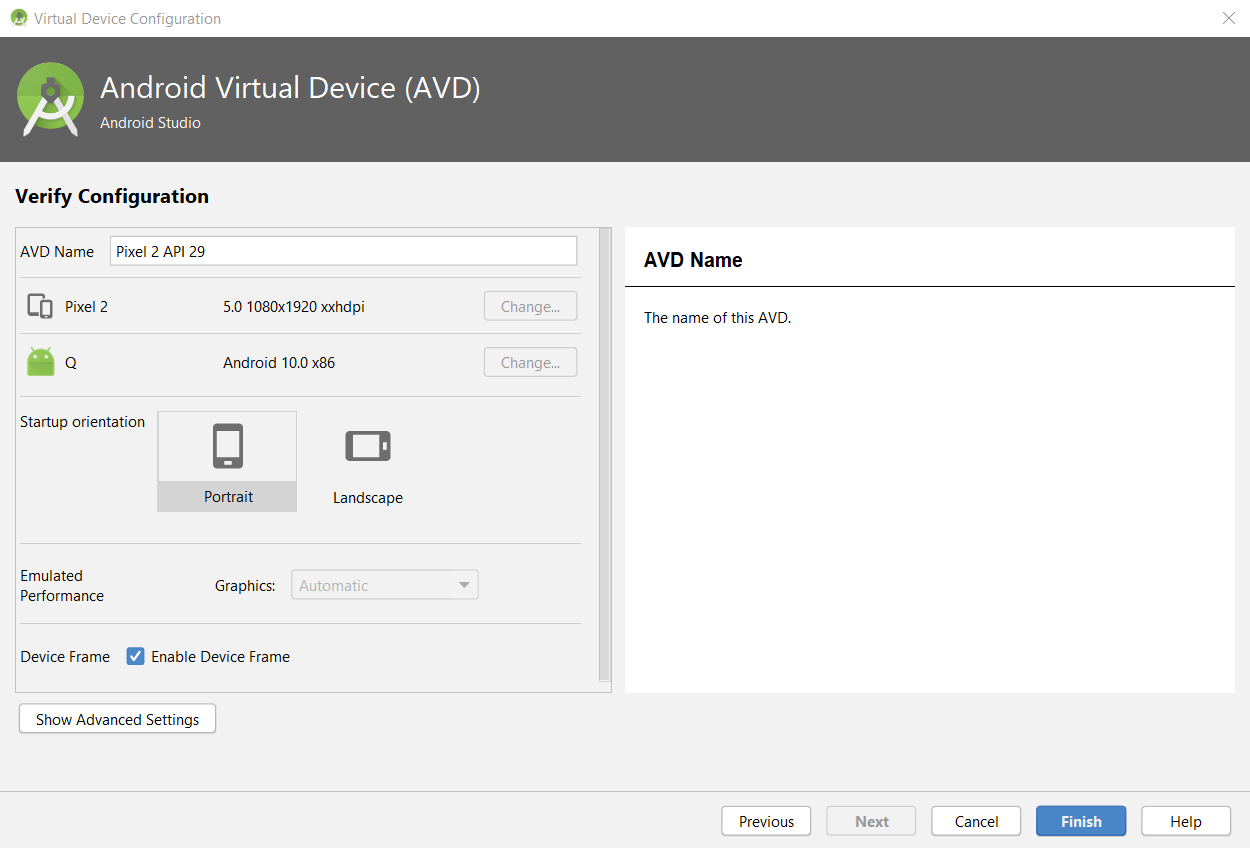
We can leave the options as they are and simply click on the Finish button to finalize the creation of the AVD.
Then, the AVD we just created will be shown on the list of devices within the Android Virtual Device Manager in Android Studio, as can be seen below.

The AVD can be started by clicking on the “play” button which looks as follows.
Exploring React Native CLI & Emulator
Using an AVD is a great way to test a React Native application and to be able to do that, we need to use the React Native CLI—which we can install globally as follows.
$ npm -i -g react-native-cliUsing the React Native CLI, we’ll be able to run our application using the emulator we’ve just installed.
We won’t go over the full process or steps required to get the React Native CLI dependencies setup, as this is clearly explained within the official React Native documentation, under the section React Native CLI Quickstart.
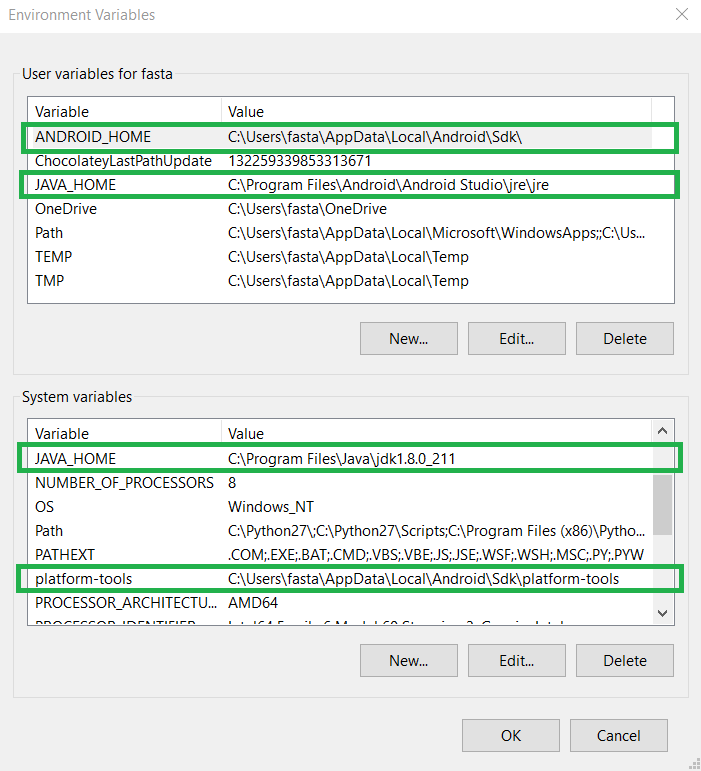
However, what is really important is that Java (JRE and JDK) is installed and the paths to the Java runtimes and Android SDK are correctly set in the Windows Environment Variables (which is explained in the official React Native documentation).
Below are the Java runtimes and Android SDK paths from my Windows environment, highlighted.
It is also very important that the emulator is set to be in developer mode. Once the emulator has been configured to be used in developer mode, we can then run the application using the emulator.
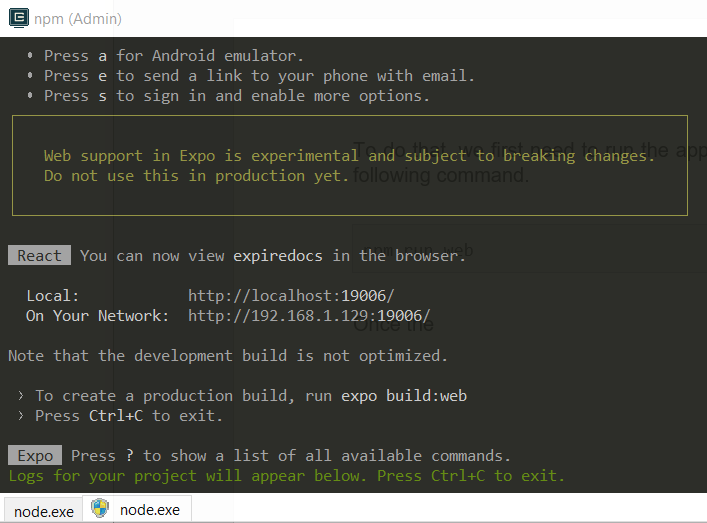
To do that, we first need to run the application using Expo, which we can do using the following command from the terminal as an admin.
$ npm run webYou’ll have to be inside the project folder for this to work. If you are not inside your project folder, you’ll need to change to that directory using the cd command from the terminal.
cd <project folder>This will run the application on a web browser—the console output can be seen below.
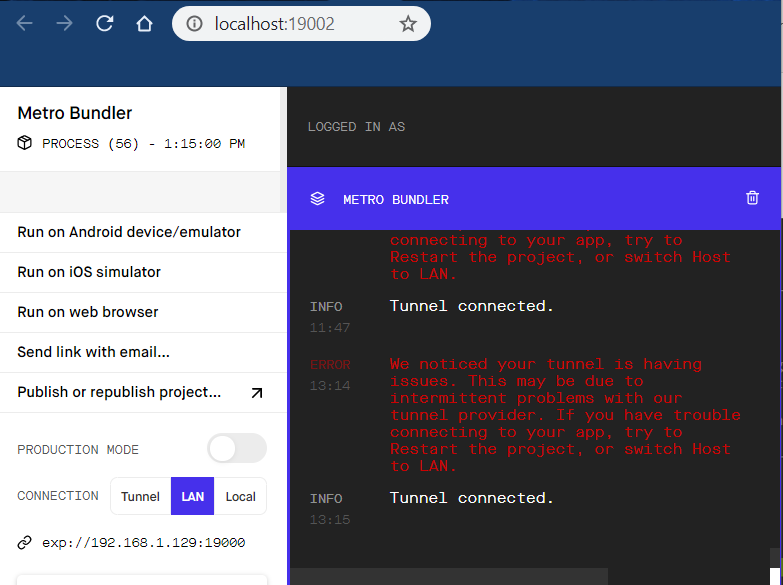
This will also open a browser window with the Metro Bundler executing, which we can see as follows.
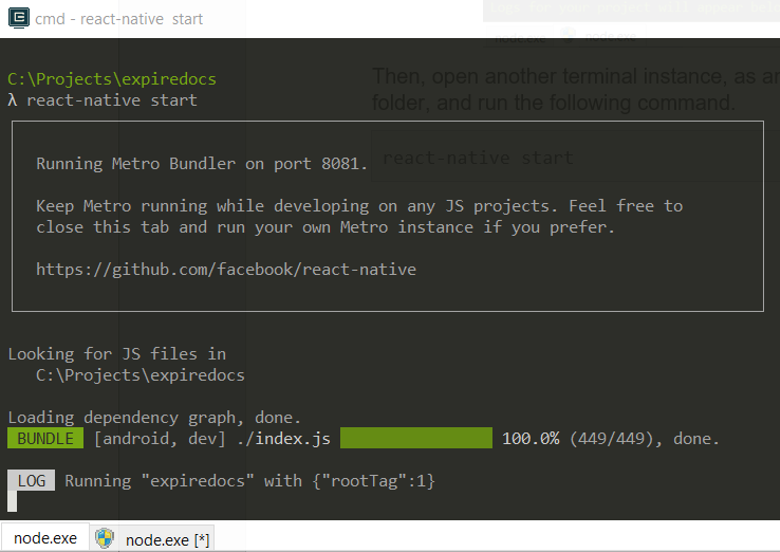
With the emulator started and running, open another terminal instance, as an admin, make sure you are in the project folder, and then run the following command.
$ react-native startThis will bundle up the project and deploy it to the emulator.
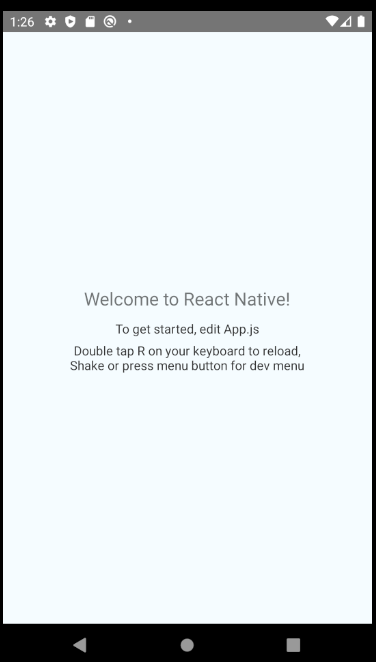
Then, from the Metro Bundler browser instance that is running, click on the Run on Android device/emulator option, to visualize the application running on the emulator.

Once that is done, you’ll see the application running on the emulator, which in my case looks as follows.
Awesome—we now know how to deploy our application to an AVD. We can now fully focus on adding the components we need to build our app, to later start writing the code.
Adding the Required Components
We are almost ready to start delving into the code and learn how to render our application’s first React Native component.
We are going to be building a list-based component which is very common in mobile apps.
We’ll see how to style it and also layout the component using flexbox—which is a layout model that allows visual elements to be aligned and distributed within a container.
If you’ve used flexbox for the web, you’ll feel very comfortable with this approach and right at home.
But before we can do this, our application will also be using some external components which make the development easier and fun. These external components are:
- js: This is a JavaScript library that allows us to parse, validate, manipulate and display dates and times easily.
- React Native Action Button: This is an action button component for React Native apps that can be easily customized.
- React Navigation: This is a React Native component that makes it easy to build in routing and navigation into an app.
- React Native DateTime Picker: This is an easy to implement cross-platform DateTime picker for React Native.
- UUID: This is a component that creates RFC4122 Universally Unique Identifiers, which is useful when adding items to a list (each item with a unique ID).
There’s an easy way to install these components altogether, rather than individually installing them one at a time.
We can do this by adding the highlighted lines below (in bold) to the existing package.json file within our project folder.
{
  "scripts": {
    "postinstall": "jetify",
    "android": "react-native run-android",
    "ios": "react-native run-ios",
    "web": "expo start --web",
    "start": "react-native start",
    "test": "jest"
  },
  "dependencies": {
    "expo": "~36.0.0",
    "react": "~16.9.0",
    "react-dom": "~16.9.0",
    "react-native": "~0.61.4",
    "react-native-gesture-handler": "~1.5.0",
    "react-native-reanimated": "~1.4.0",
    "react-native-screens": "~2.0.0-alpha.12",
    "react-native-unimodules": "~0.7.0",
    "react-native-web": "~0.11.7",
    "moment": "^2.24.0",
    "react-native-action-button": "2.8.5",
    "react-navigation": "4.1.1",
    "react-native-modal-datetime-picker": "8.1.3",
    "uuid": "3.4.0"
  },
  "devDependencies": {
    "@babel/core": "~7.6.0",
    "babel-jest": "~24.9.0",
    "jest": "~24.9.0",
    "jetifier": "~1.6.4",
    "metro-react-native-babel-preset": "~0.56.0",
    "react-test-renderer": "~16.9.0"
  },
  "jest": {
    "preset": "react-native"
  },
  "private": true
}
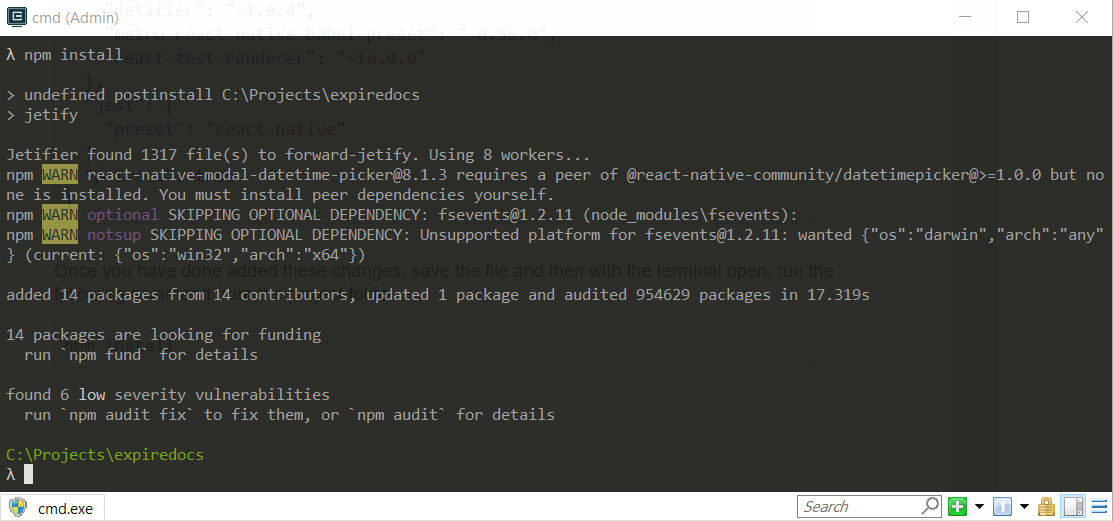
Once you have done this (added those lines highlighted in bold), save the file and then with the terminal open, run the following command from the project folder.
$ npm installOnce the process has been finalized, we can see from the command line that the packages have been successfully added.
Alright, we are now done with the core of the setup, from both an environmental and modules perspective that our application will need.
In the next article, we will explore how to render our app’s first component, which will be an item’s list that will contain the documents with an expiry date that we want our application to keep track of.